
Once you have both Printful and Etsy seller accounts setup, its quite easy to make a t-shirt on Printful and then push it to Etsy to sell. In this article I will describe how to make a t-shirt and then push it to Etsy. Alternatively you can check my YouTube video of the same t-shirt creation here.
First of all, you have have a visual design ready for your t-shirt. You can either draw it by hand then scan it into PNG/JPG file or you can create it directly in online tools like Photoshop, Kittle, Canvas, Leonardo AI, Microsoft Designer, etc… There are so many tools available out there now that its mind boggling. In some of the next blog posts, I plan to write and compare from my experience what are the best tools to use for different purposes.
Make sure that your design is unique, its not a replica of what already exists. Your design has to be of good quality for you to stand out from the crowd. If your design is just a copy or a quick fix of low quality, then most likely you will not sell any of those t-shirts. At best you should have some ideal and values that distinguish you from competition and a motivation why you are doing it. Of course, most of us work to make money at the end of the day, but in the process of doing that your values are whats important.
In this tutorial I will show you how I am created a real t-shirt from Printful to Esty: located here. Its not just a training sample, but a real good quality t-shirt that I plan to sell. Its an image of Azure Dragon in human form, one of the four constellations in ancient Chinese mythology that fascinated me. I am a big fan of ancient Chinese mythology and literature. If you haven’t read The Three Kingdoms, you should 🙂
Step 1 – Create New Product Template in Printful
Open your Printful account, on the left side click on Product templates -> Create new product

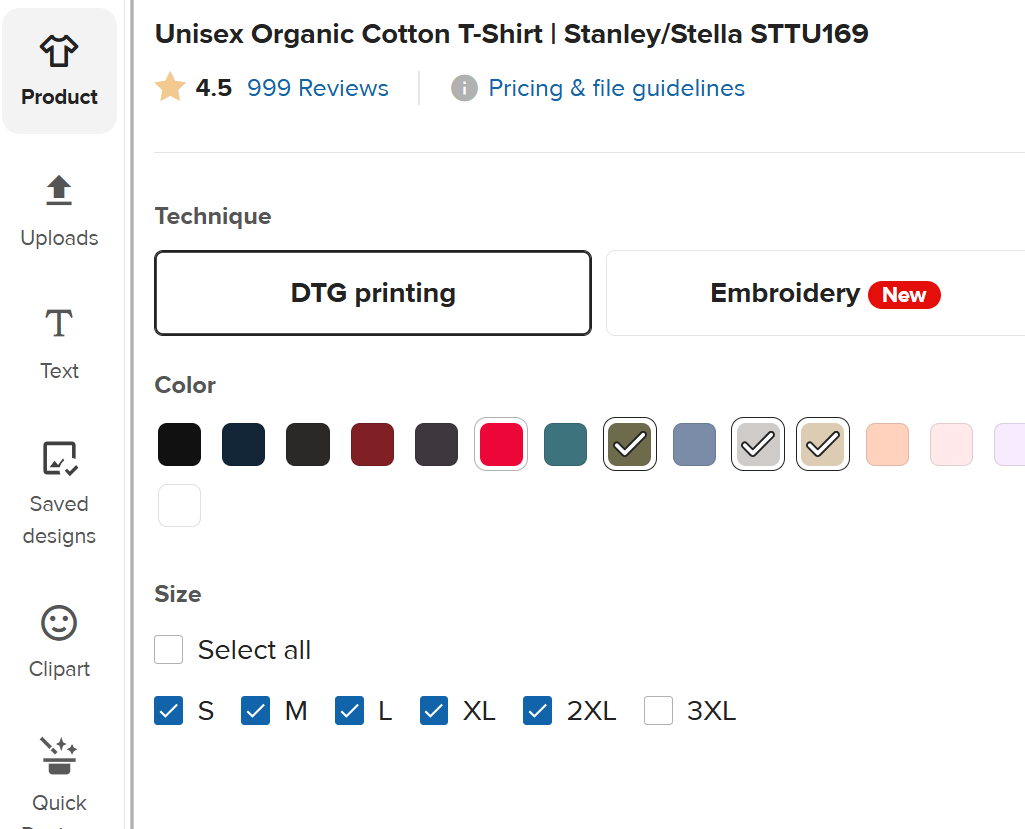
Select your product. In my case it is Men’s t-shirts, Unisex Organic t-shirts. I like quality such as cotton, so I use those. But, of course, you can choose what fits your idea of quality.

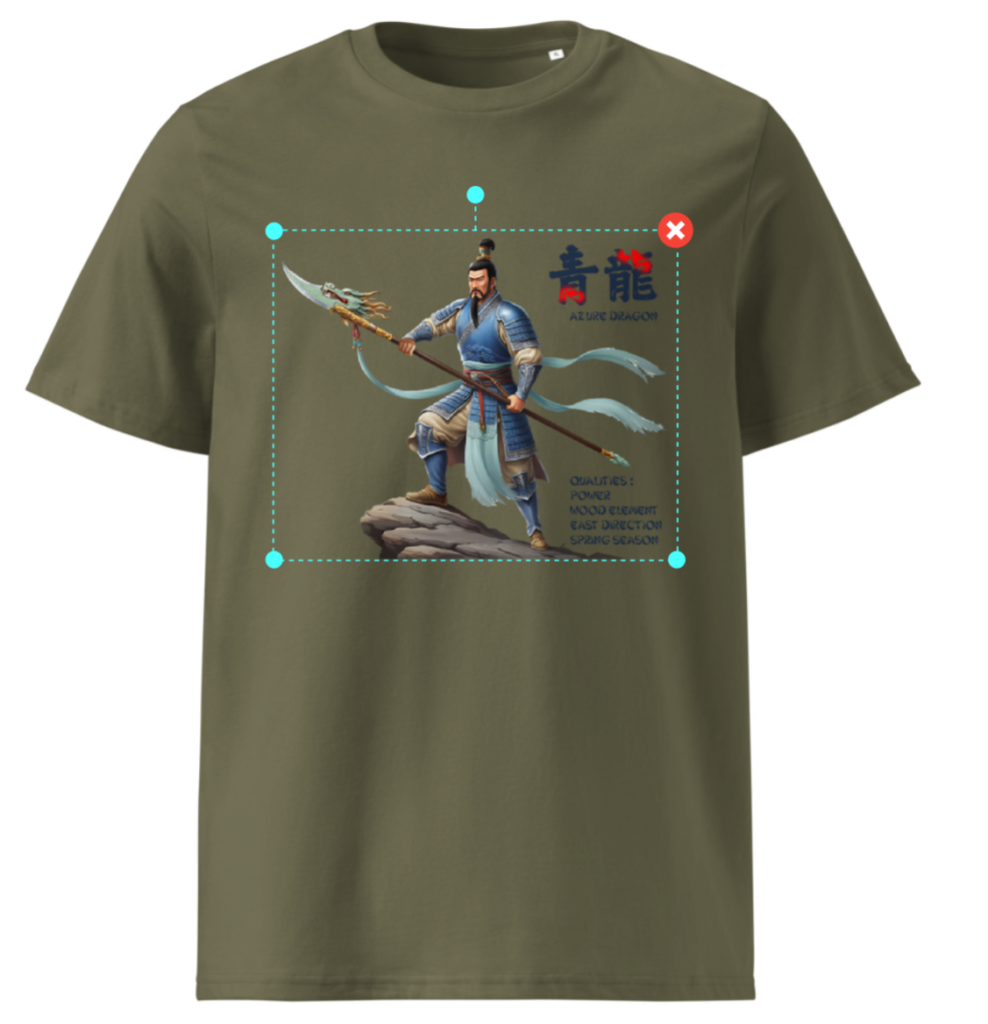
Upload your design here, click on the center of t-shirt and browse your files to load the JPG or PNG file.
Center the image on the t-shirt exactly where you like it to be.
On the left side, click on Product and select your preferred colors and sizes
Press Save to Templates and your t-shirt template is done.
Step 2 – Load your t-shirt into Etsy Store from Printful
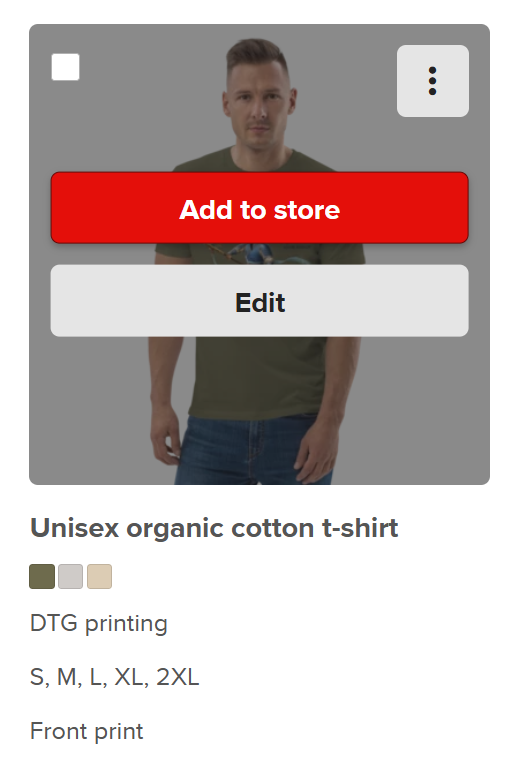
Hover over your newly created template and you will see “Add to Store” button. Click on it and it will take you through the details how to add it into the store. Note that if you havent enabled yet your Etsy store on Printful, you need to first enable it by going to Stores on left hand menu, Choose Platform and select Etsy. You log into your Etsy account from there and it should enable your store integration between Etsy and Printful.
Once you click Add to store, you will be taken to the similar view as when you were creating the template. If you dont want to change your design, colors then click on Proceed to Mockups.
Here you are given 2 options: Basic Mockups and Custom Mockups. Here I would chose Basic Mockups. You can select from the available men or women the model (mockup) that will wear your t-shirt.
Here I would uncheck everything except Front (if we are creating a design only on the front of t-shirt).
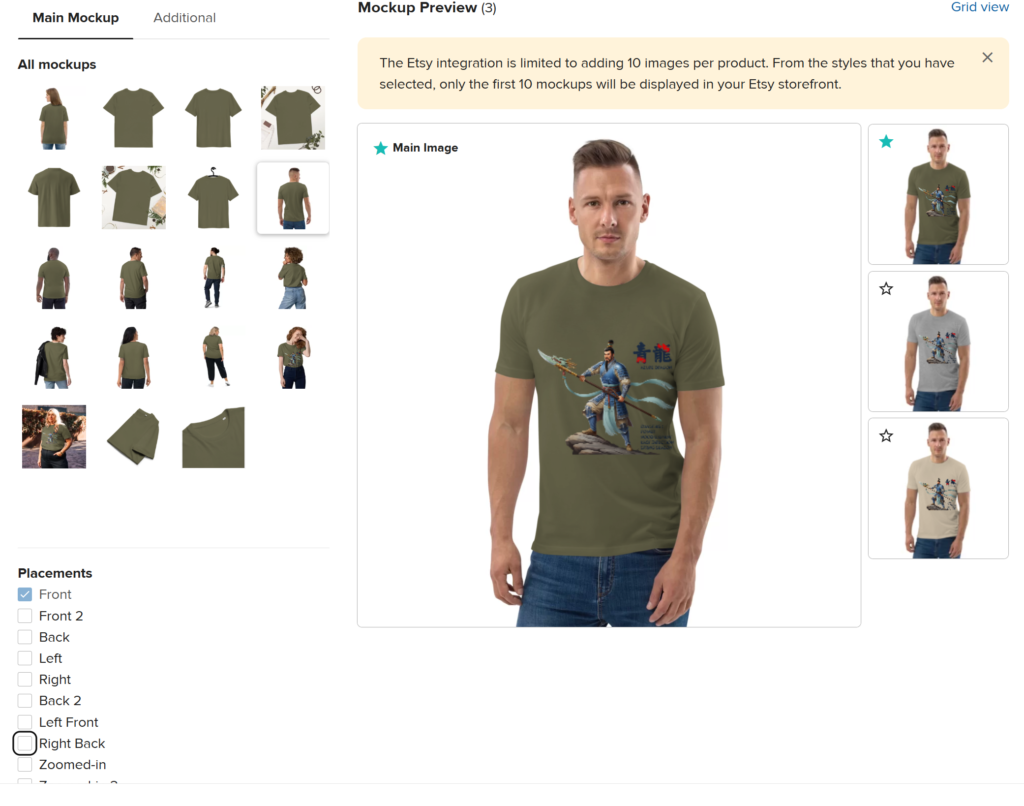
Afterwards, I would click on Additional tab and select other men or women to showcase your t-shirt. Then I would click on Continue.
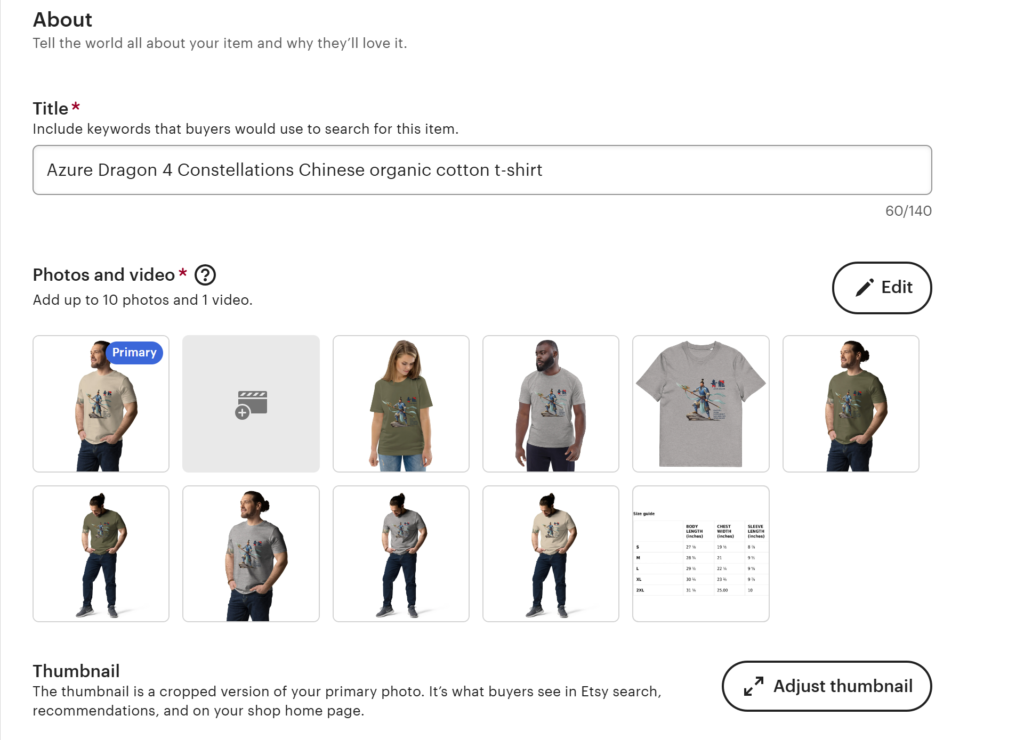
Here comes the most important part of your description (excel the design itself). Make sure that you are very descriptive about what this shirt is about, which materials are used to make it and where it was produced. If its print-on-demand, then make sure that you keep the Add info about on-demand manufacturing on the bottom.

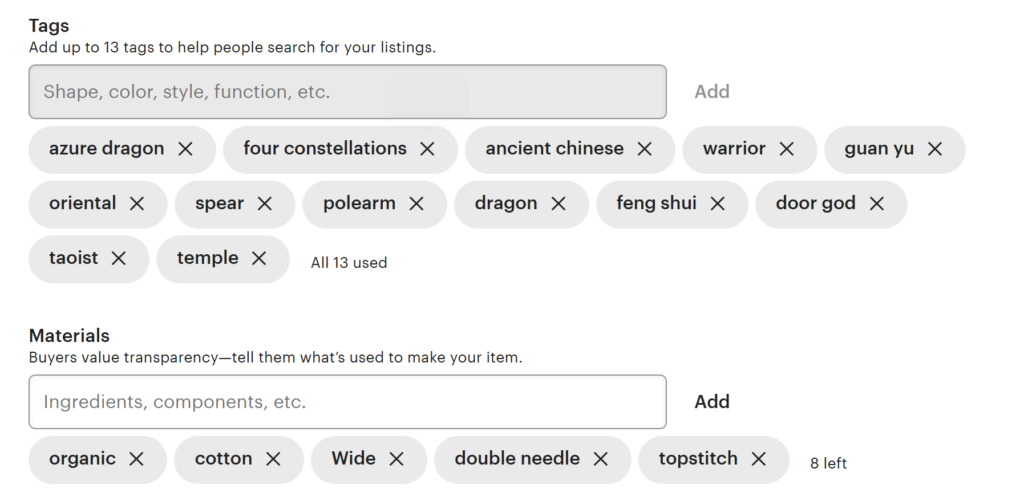
The other very important thing is the Tags section. In order to be found by search engines and Etsy its key to put in unique, low competition keywords in there. You can use up to 13 keywords. You can see that for my image of Azure Dragon, I wrote those, which are quite distinctive.

Choose a category for your t-shirt. On Etsy you can create categories for your products, such as Politics, Sports, Cars, Coffee, etc… Printful already integrates your Etsy categories in the drop down menu. Categories are important for sorting and finding your products on Etsy store.

Next section is the Price. Here you simply enter the price that you want to sell your t-shirts. Note that the Estimated earnings shown in the green box are not your true earnings you get from selling the shirt. Etsy is also taking a big chuck of your earnings, so that will come on top. So make sure you do some research what the reasonable price should be in order to be making a profit. I will write another blog post on the pricing.

When done with pricing, press Submit to Store and you will soon see your t-shirt in Etsy.
Step 3: Integrate and sell your shirt on Etsy
Log into your Etsy Store Manager account. On the left hand side click on Listings and you shall see your new t-shirt under Draft section.
Click on it and here you can edit the mockup order or load your own mockup pictures, up to 10 of them. You can also load a video. Its best practice to order your own shirt and try out its quality before you sell it to others. You can also make a video of it which you can upload here.
Next to the Tags, you also see Materials section. Here you can input up to 13 tags as well.
Consclusion
That’s it, now on the very bottom of the page click on Publish and it will present a small window stating that it will cost 20 cents. Click OK and you are all set. Now everyone can view your t-shirt in your Etsy shop.
I hope this small tutorial was of use for the beginners on Etsy and Printful. I will do some more articles on this topic going into details of changing designs and implementing different advertising, marketing or pricing strategies. Let me know in the comments if you are interested in other topics that I can write about.

No responses yet